Custom Design an Engagement Ring
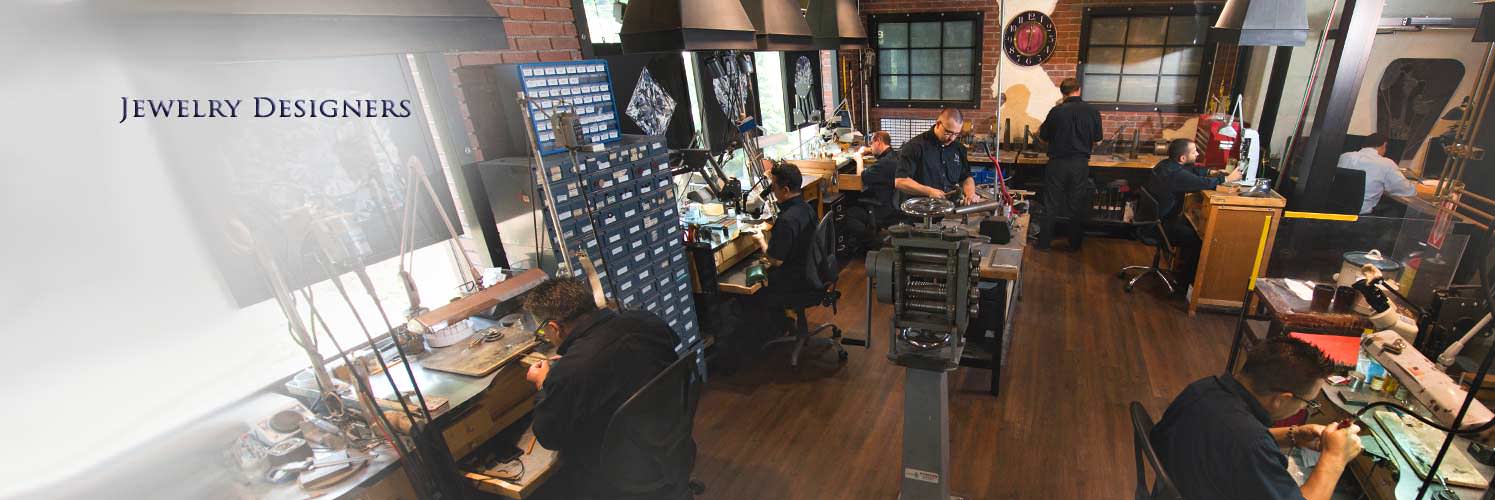
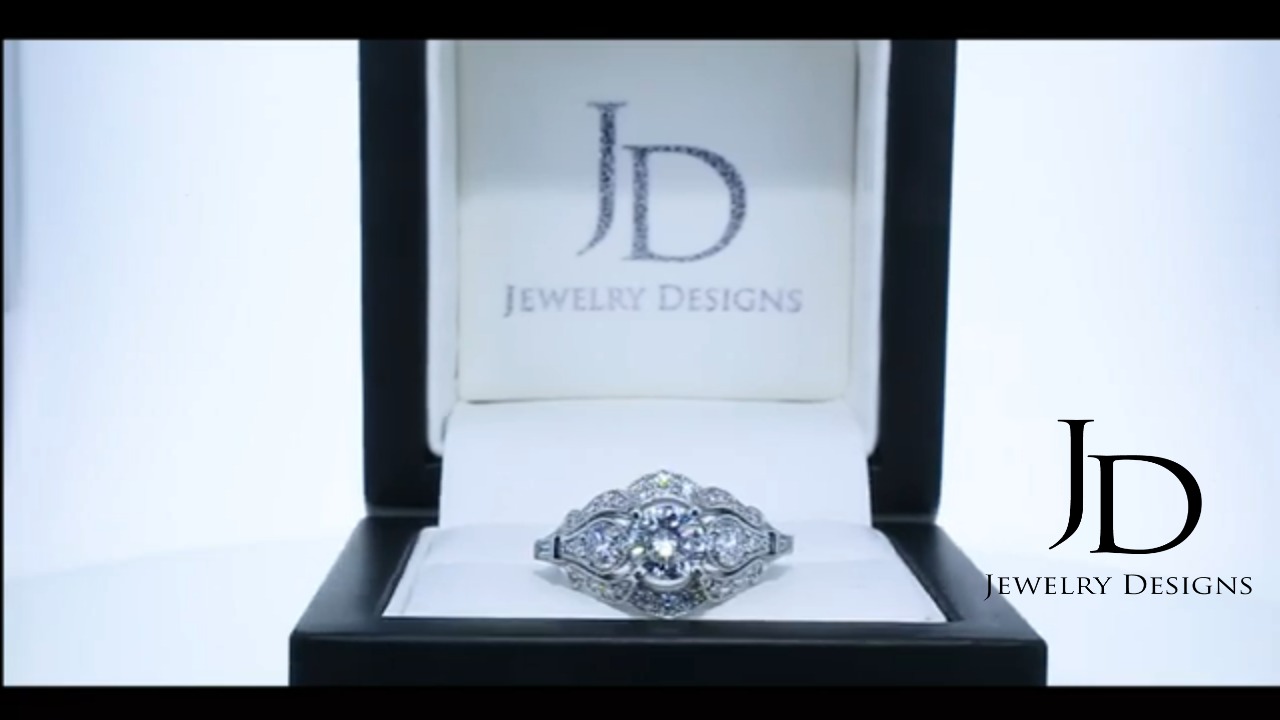
In this video, master jewelers demonstrate the detailed steps required to custom design an engagement ring. This project engages several artisans specializing in individual skills necessary to make an engagement ring from start to finish. As a result, this custom engagement ring receives the attention needed to make it a masterpiece. From creating a computerized sketch through casting, setting, and finishing, watch the development of this original engagement ring.
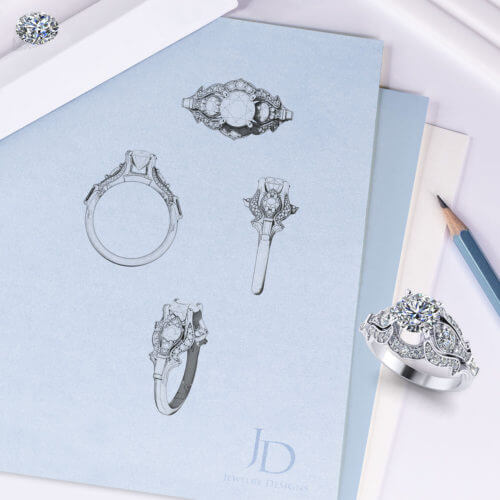
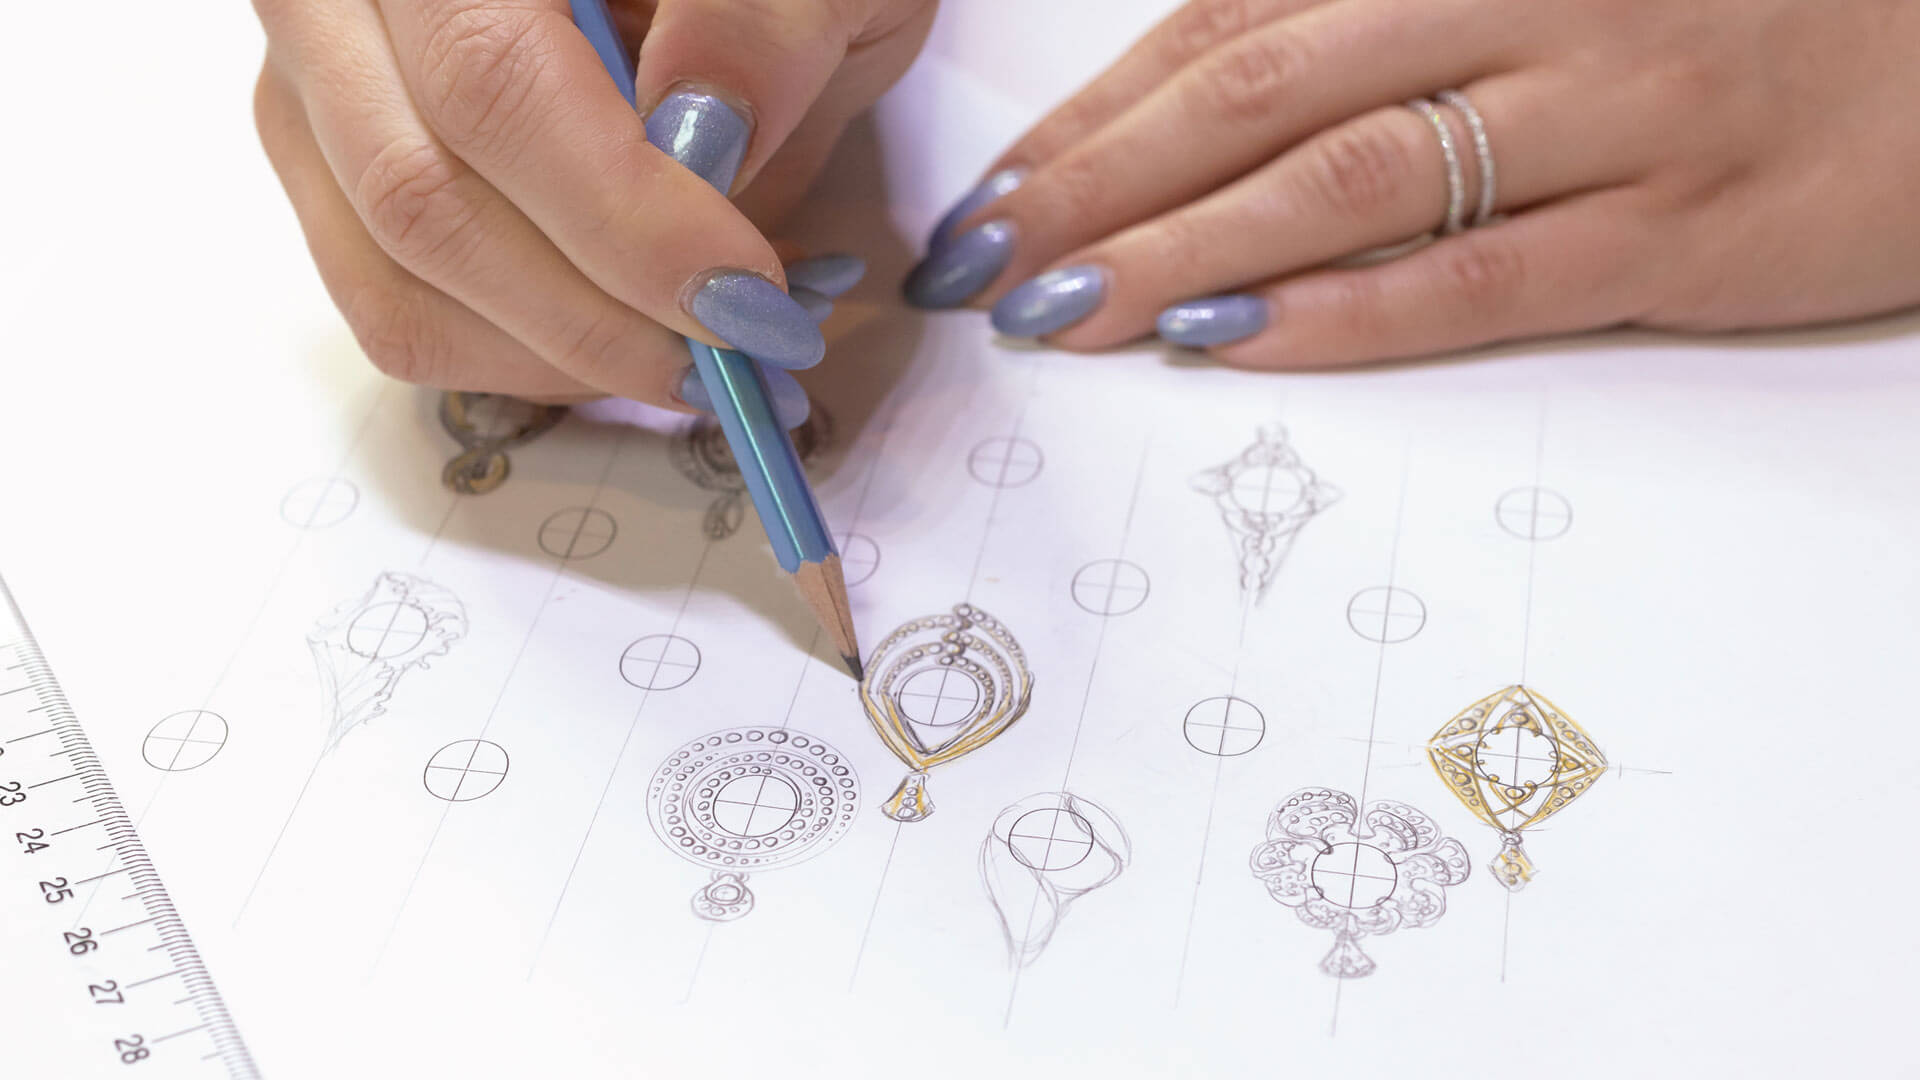
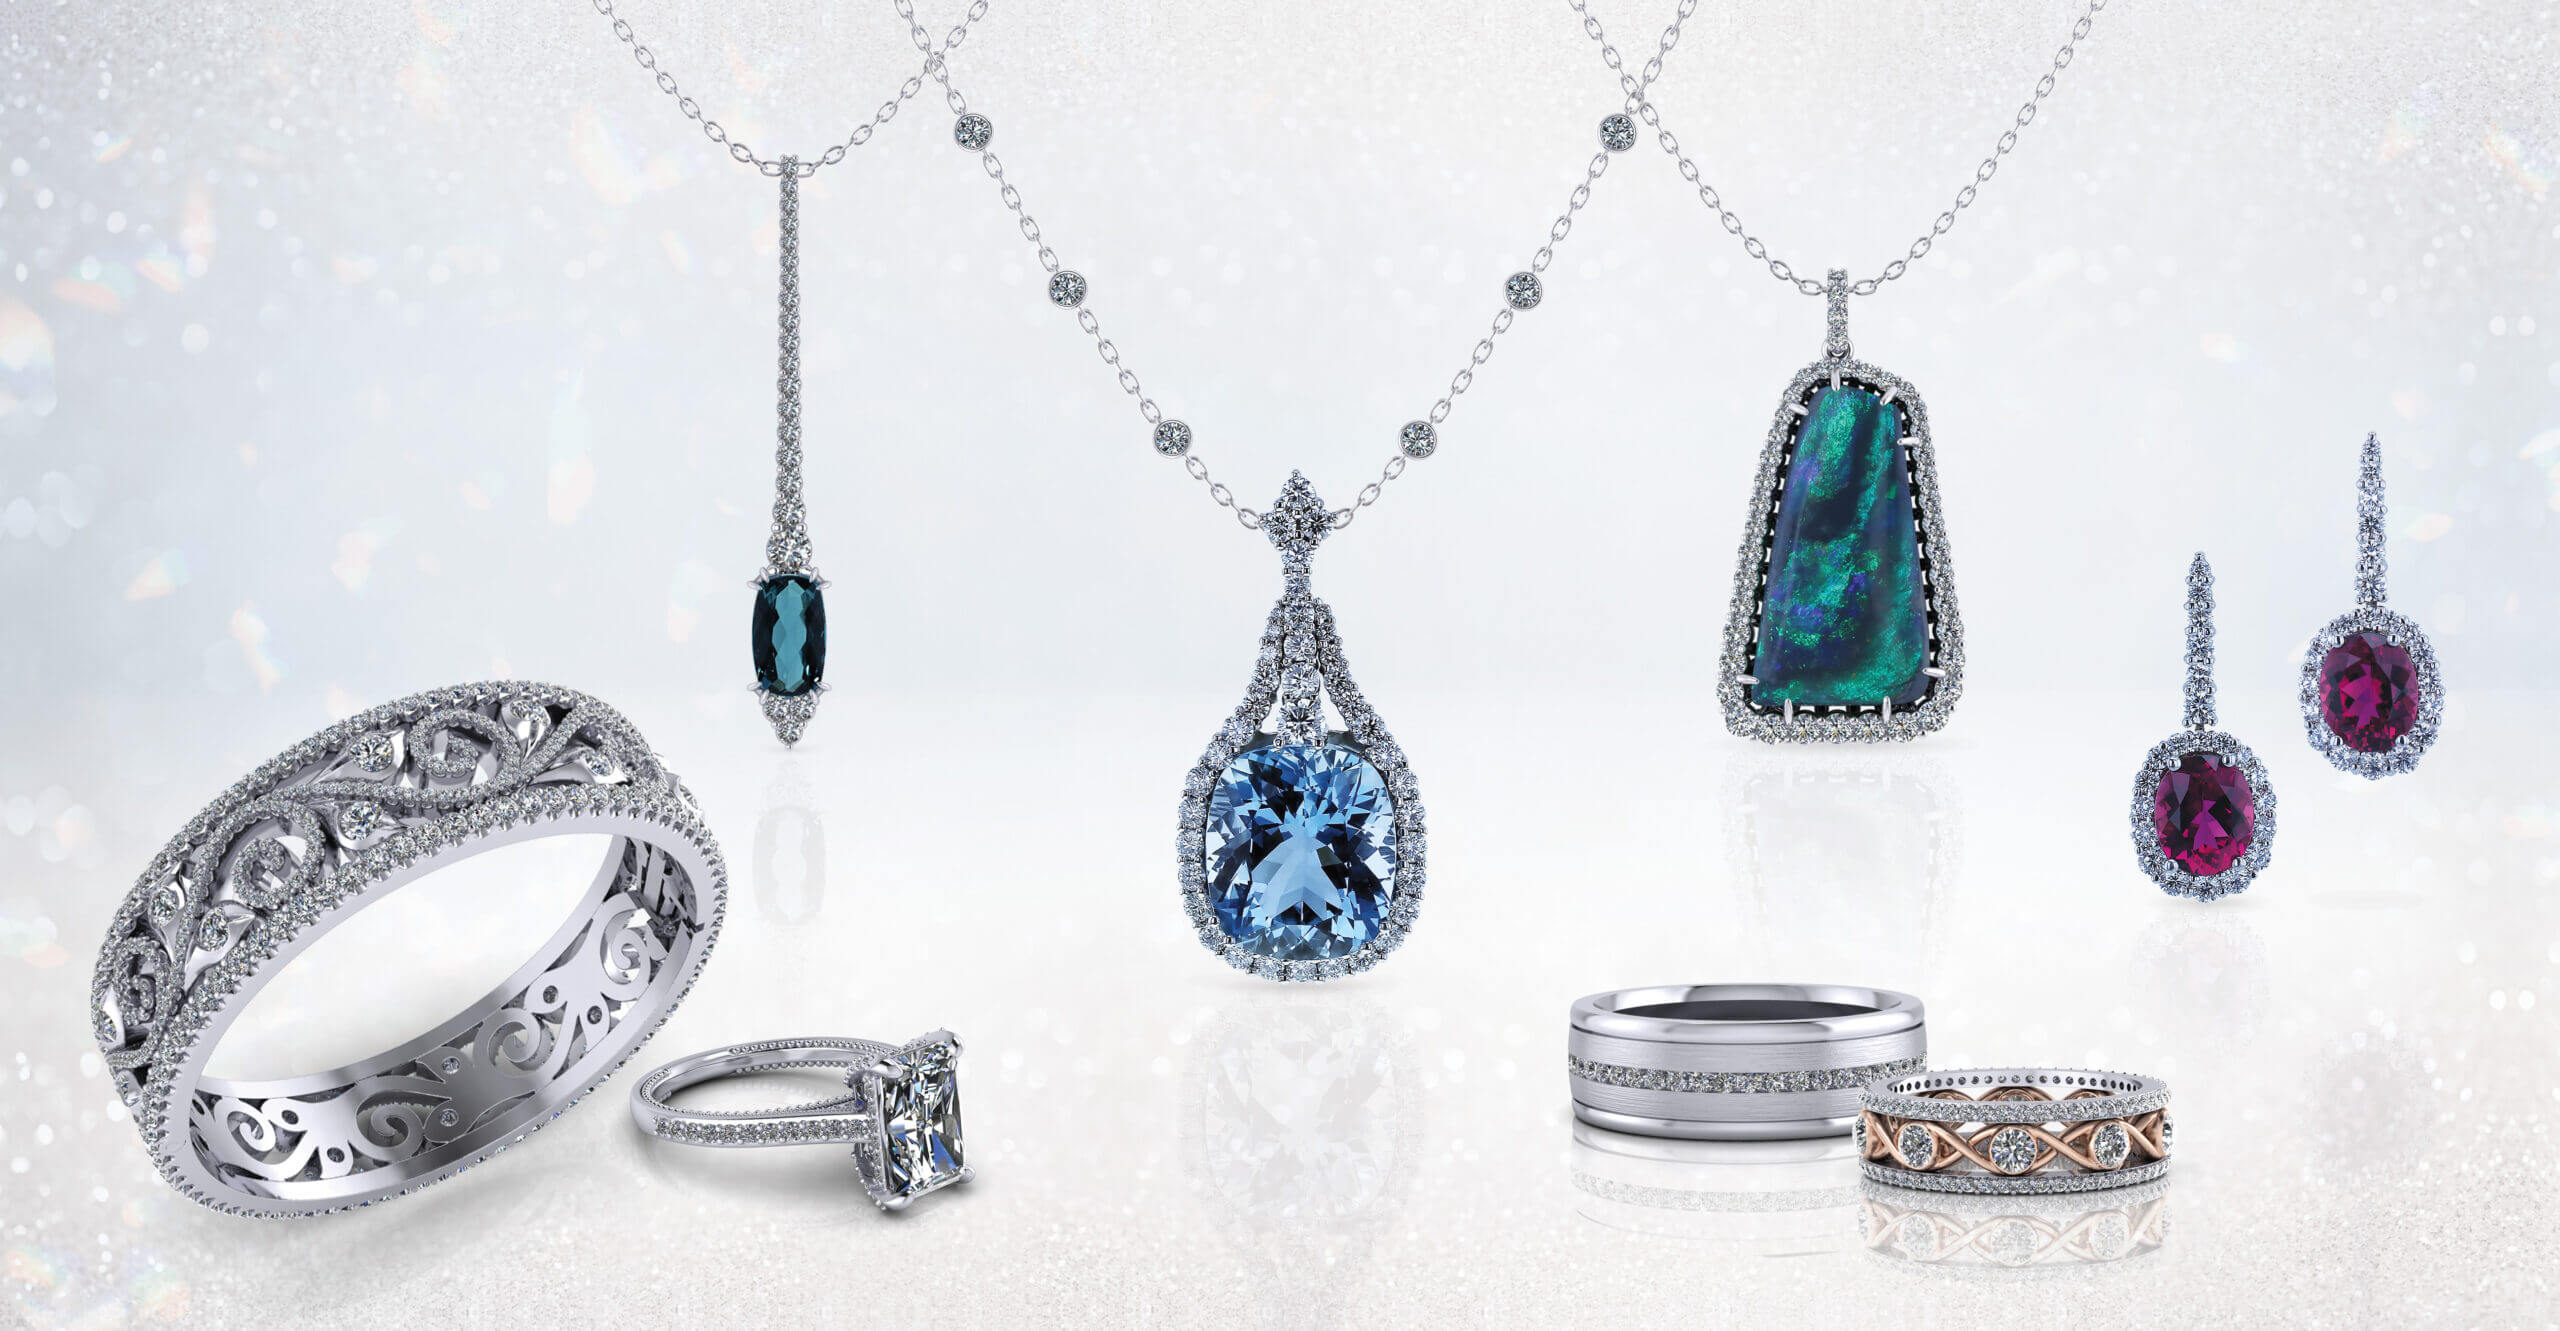
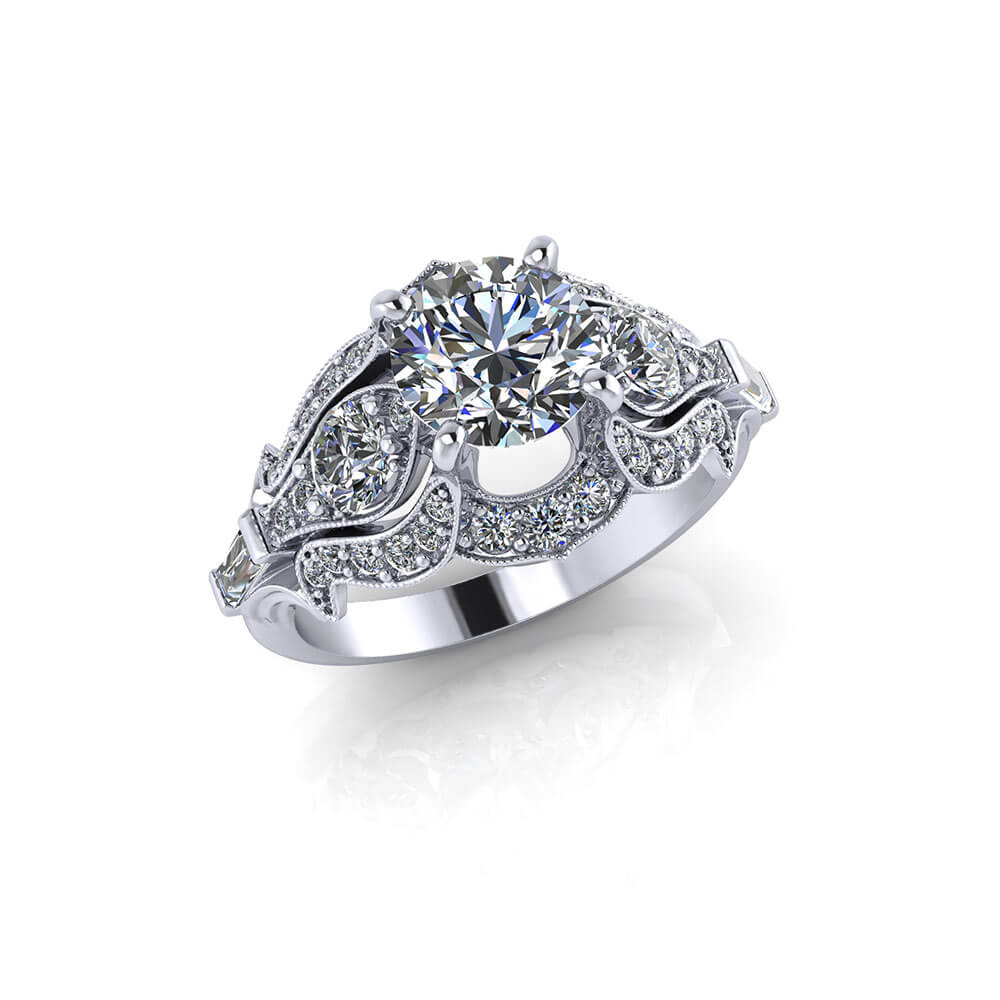
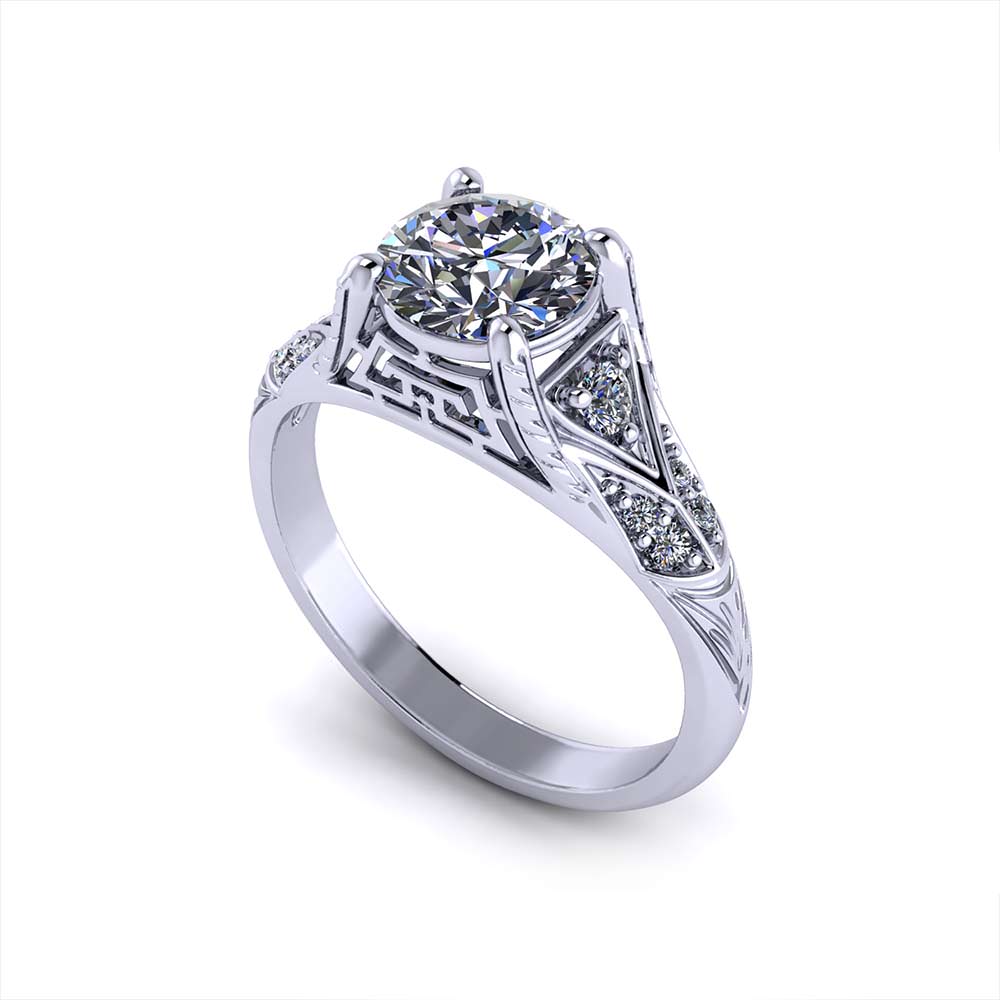
The inspiration behind this design was to capture the essence of rings made in a bygone era and marry them with the spirit of contemporary design. Borrowing the milgrain edging and bead set diamond theme from the Art Deco period, they integrated soft scrolling lines indicative of Art Nouveau. Additionally, escalating raised prongs to elevate the center diamond provide a contemporary feel.
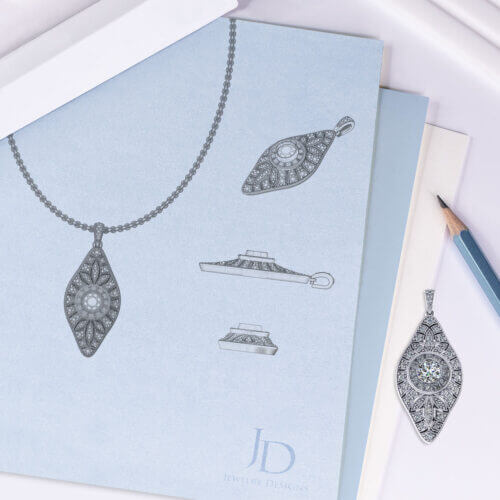
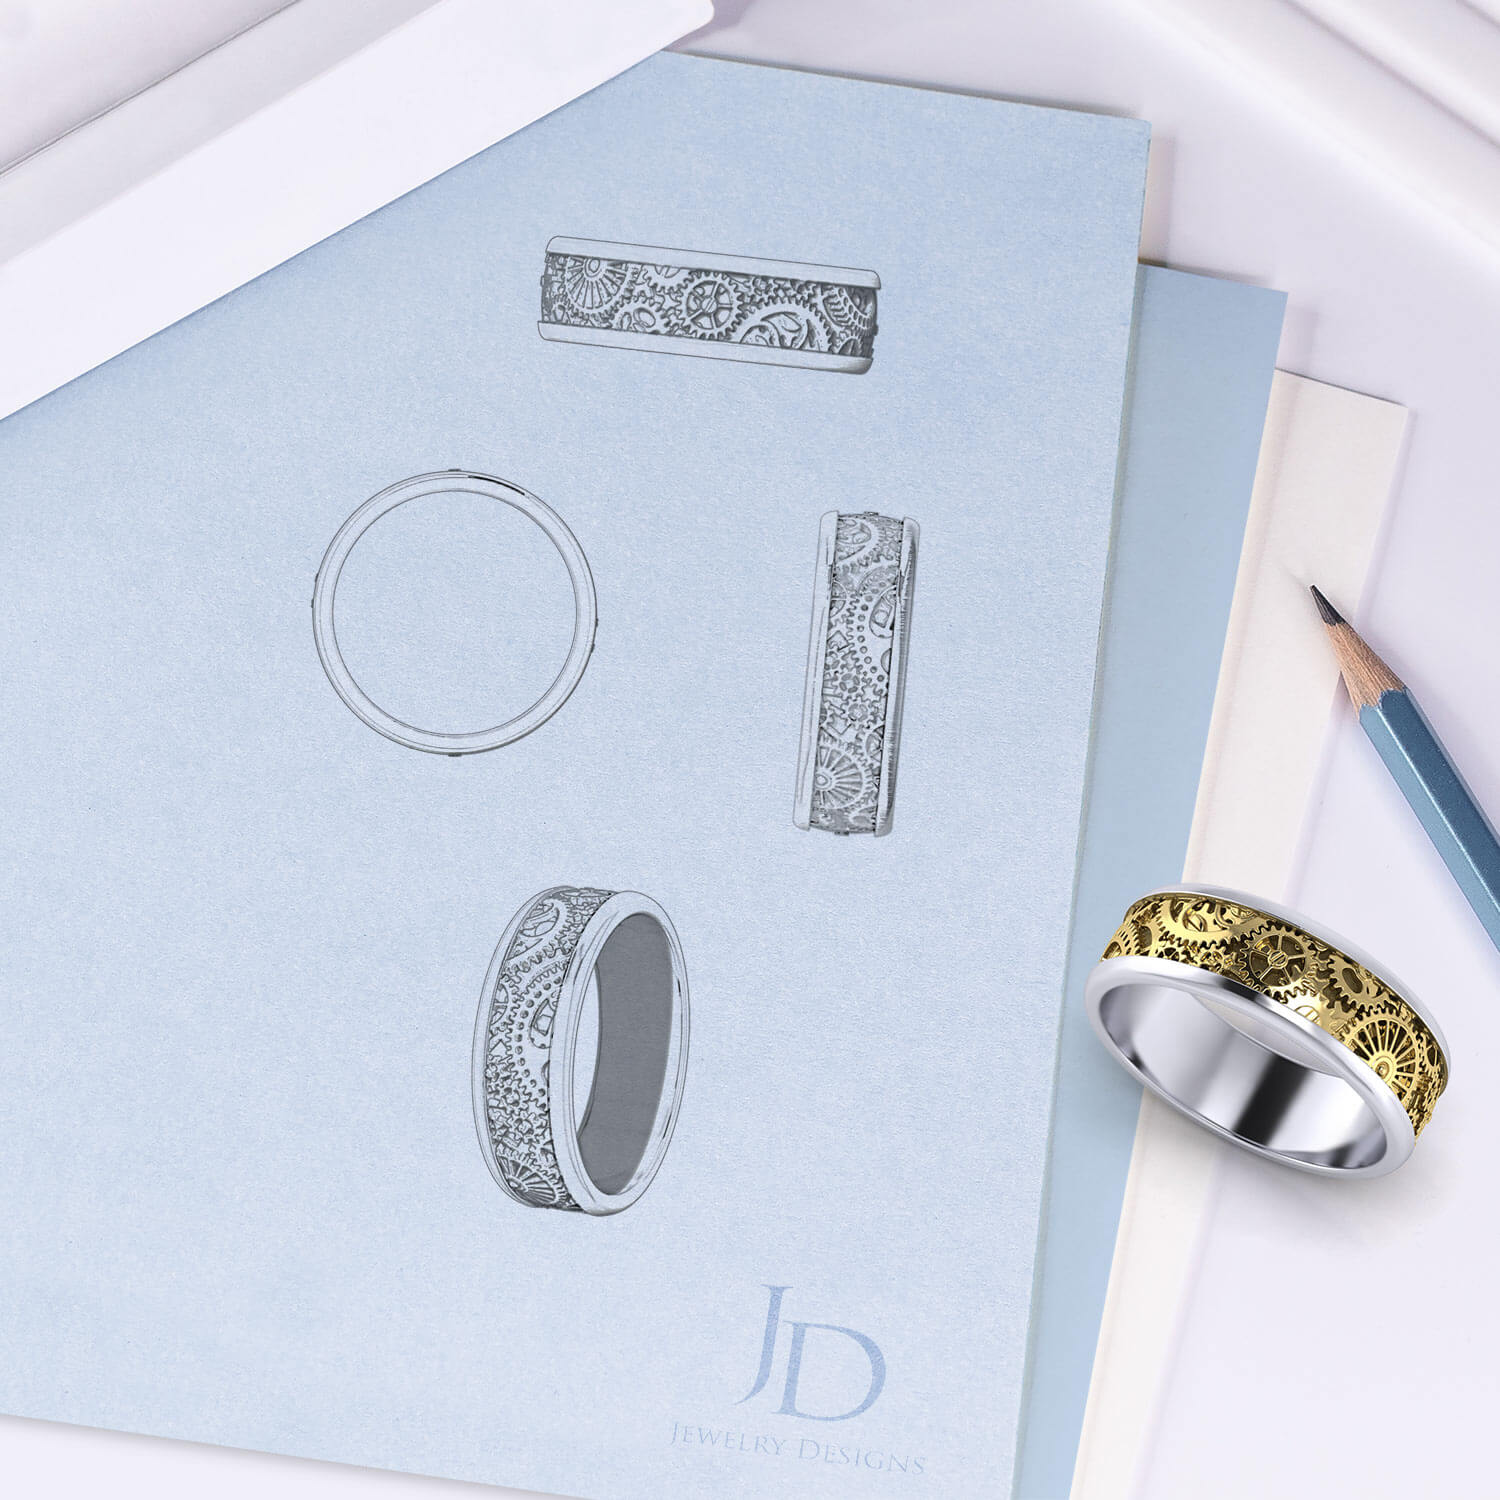
With this in mind, the CAD model maker stylizes the engagement ring with a basic profile using these elements. Once accepted, they will populate the model on-screen with rendered gemstones. The scale and size of these rendered jewels will determine the size of the diamonds used in the actual model.
Engagement Design Transformation
With all of the detailed work established, the jewelers will use the CAD file to grow our model. Once loaded into the grower, this technology will produce the CAD engagement ring in layers for several hours. Finally, the resin model will cure under UV lighting in preparation for casting.
Plastic in appearance, the resin is a perfect likeness of the ring we have designed. Next, the jeweler specializing in casting attaches the model to a wax sprue rod, which will support the model. Now the ring model will be embedded in plaster investment and cured to harden. Next, the Caster calculates the time needed to incinerate the model and programs the furnace. Throughout the evening, the oven will cycle from 200 to 1,450 degrees Fahrenheit.
After burning all night, the plaster mold glows cherry red with a hollow impression of our design inside. Next, the jeweler will place the flask in a centrifuge where molten platinum spins into the empty cavity. The jeweler will now remove the investment to free the platinum model within.
Engagement Ring Polishing
Now our engagement ring needs polishing. At this stage, the design is not very impressive. The beautiful model now appears as a crude lump of cast metal. It is time for a jeweler specializing in precious metal polishing to work their magic. Using files, wheels, and grinding instruments, the artists transform the platinum cast. Each step of the way reveals the glistening metal within.
The polished engagement ring setting is bright, with all underlying areas prepared for the addition of diamonds. The last step is thorough steam and ultrasonic cleaning. Finally, the polisher will give the finished engagement mounting to the diamond setters.
Setting The Engagement Ring
With the finished mounting complete, it is time for setting the engagement ring. Diamond setting is a delicate art performed by steady-handed jewelers with an extreme eye for detail. First, the setter will excavate and shape each prong to seat the diamonds. Then, the jeweler can tighten the prongs with just the correct pressure after the gems are level. The technique may appear easy in the video; however, a slight variation in force at the wrong angle could lead to chipping the stone.
The diamond setter must remove enough metal to reveal the diamond’s beauty yet leave enough metal to provide durability. By adequately trimming and shaping the beads and prongs, they will not snag on clothing while being worn.
Once all smaller stones are seated, the artist can secure the featured center in the raised prongs. As a final detail, they will articulate a delicate line of milgrain to the edges of all bead set stone groups.
Viola! Now the custom engagement ring is ready for a final cleaning and inspection.


